
From delivery to finished floor: how a MonoTray tray actually gets fitted
This is the real sequence a tiler or microcement applicator follows on site — not a marketing simplification. Every tray leaves us pre-sloped and pre-tanked at the base, so the steps below focus on what still has to happen on the day: connecting the waste, tanking the perimeter, and keying the surface so the microcement finish reads as one seamless floor.
Always use a qualified, insured tradesperson for tanking, plumbing and electrical work, and follow your microcement system's technical data sheet for primer, coat build-up and cure times — products vary between manufacturers. Where the work affects drainage, electrics or building fabric, check whether UK Building Regulations (e.g. Part G, Part P) apply in your area before you start.
The six stages of a MonoTray install
Survey & dry-fit
Check the subfloor is structurally sound, flat to within roughly 3mm over 2m, and fully dry. Dry-fit the tray in the opening before anything is bonded — confirm the drain lines up with the waste stub and the tray sits flush with the finished floor level either side.
Day 1 · before bondingConnect the waste
Fit the trap and connect the waste pipe to the tray's pre-formed drain point. Do a temporary water test — plug the outlet, fill to the drain, and check the joint holds — before the tray is permanently bedded and access disappears.
Day 1Bed & level the tray
Solid-bed the tray on flexible tile adhesive with full coverage underneath — no voids that could crack later under load. Check level and falls to the drain with a spirit level or laser, and weight the tray evenly while the adhesive cures.
Day 1–2Tank the perimeter
Apply liquid or sheet waterproofing membrane across the tray flange and up the surrounding walls — typically a 150–200mm upstand generally, taken higher across the direct shower/wet wall. Reinforce internal corners and the tray-to-wall joint with tanking tape or fillet.
Day 2Key & reinforce
Prime and key the tray surface per your microcement manufacturer's spec, and embed fibreglass reinforcement mesh across the tray-to-floor transition. This is the joint most likely to see minor movement, so it's the one most worth reinforcing properly.
Day 2–3Apply & seal the finish
Apply base and finish microcement coats across the tray and surrounding floor (and up the walls, if you're running it through) for the seamless look, then seal with a breathable, wet-area-rated topcoat. Leave to cure fully before first use — check your topcoat's data sheet, typically several days for light use and longer before full water exposure.
Day 3–7+Why the on-site list is shorter than a standard tray
No falls to build
The fall to the drain is formed at the factory to a consistent gradient, so there's no screeding-in of a slope on site.
Base already tanked
The tray core is waterproofed before it leaves us — site tanking is about the perimeter joint, not the whole base.
Consistent 30mm profile
Every size sits at the same 30mm thickness, so floor build-up and door/threshold heights are predictable before the tray even arrives.
What it looks like once it's in
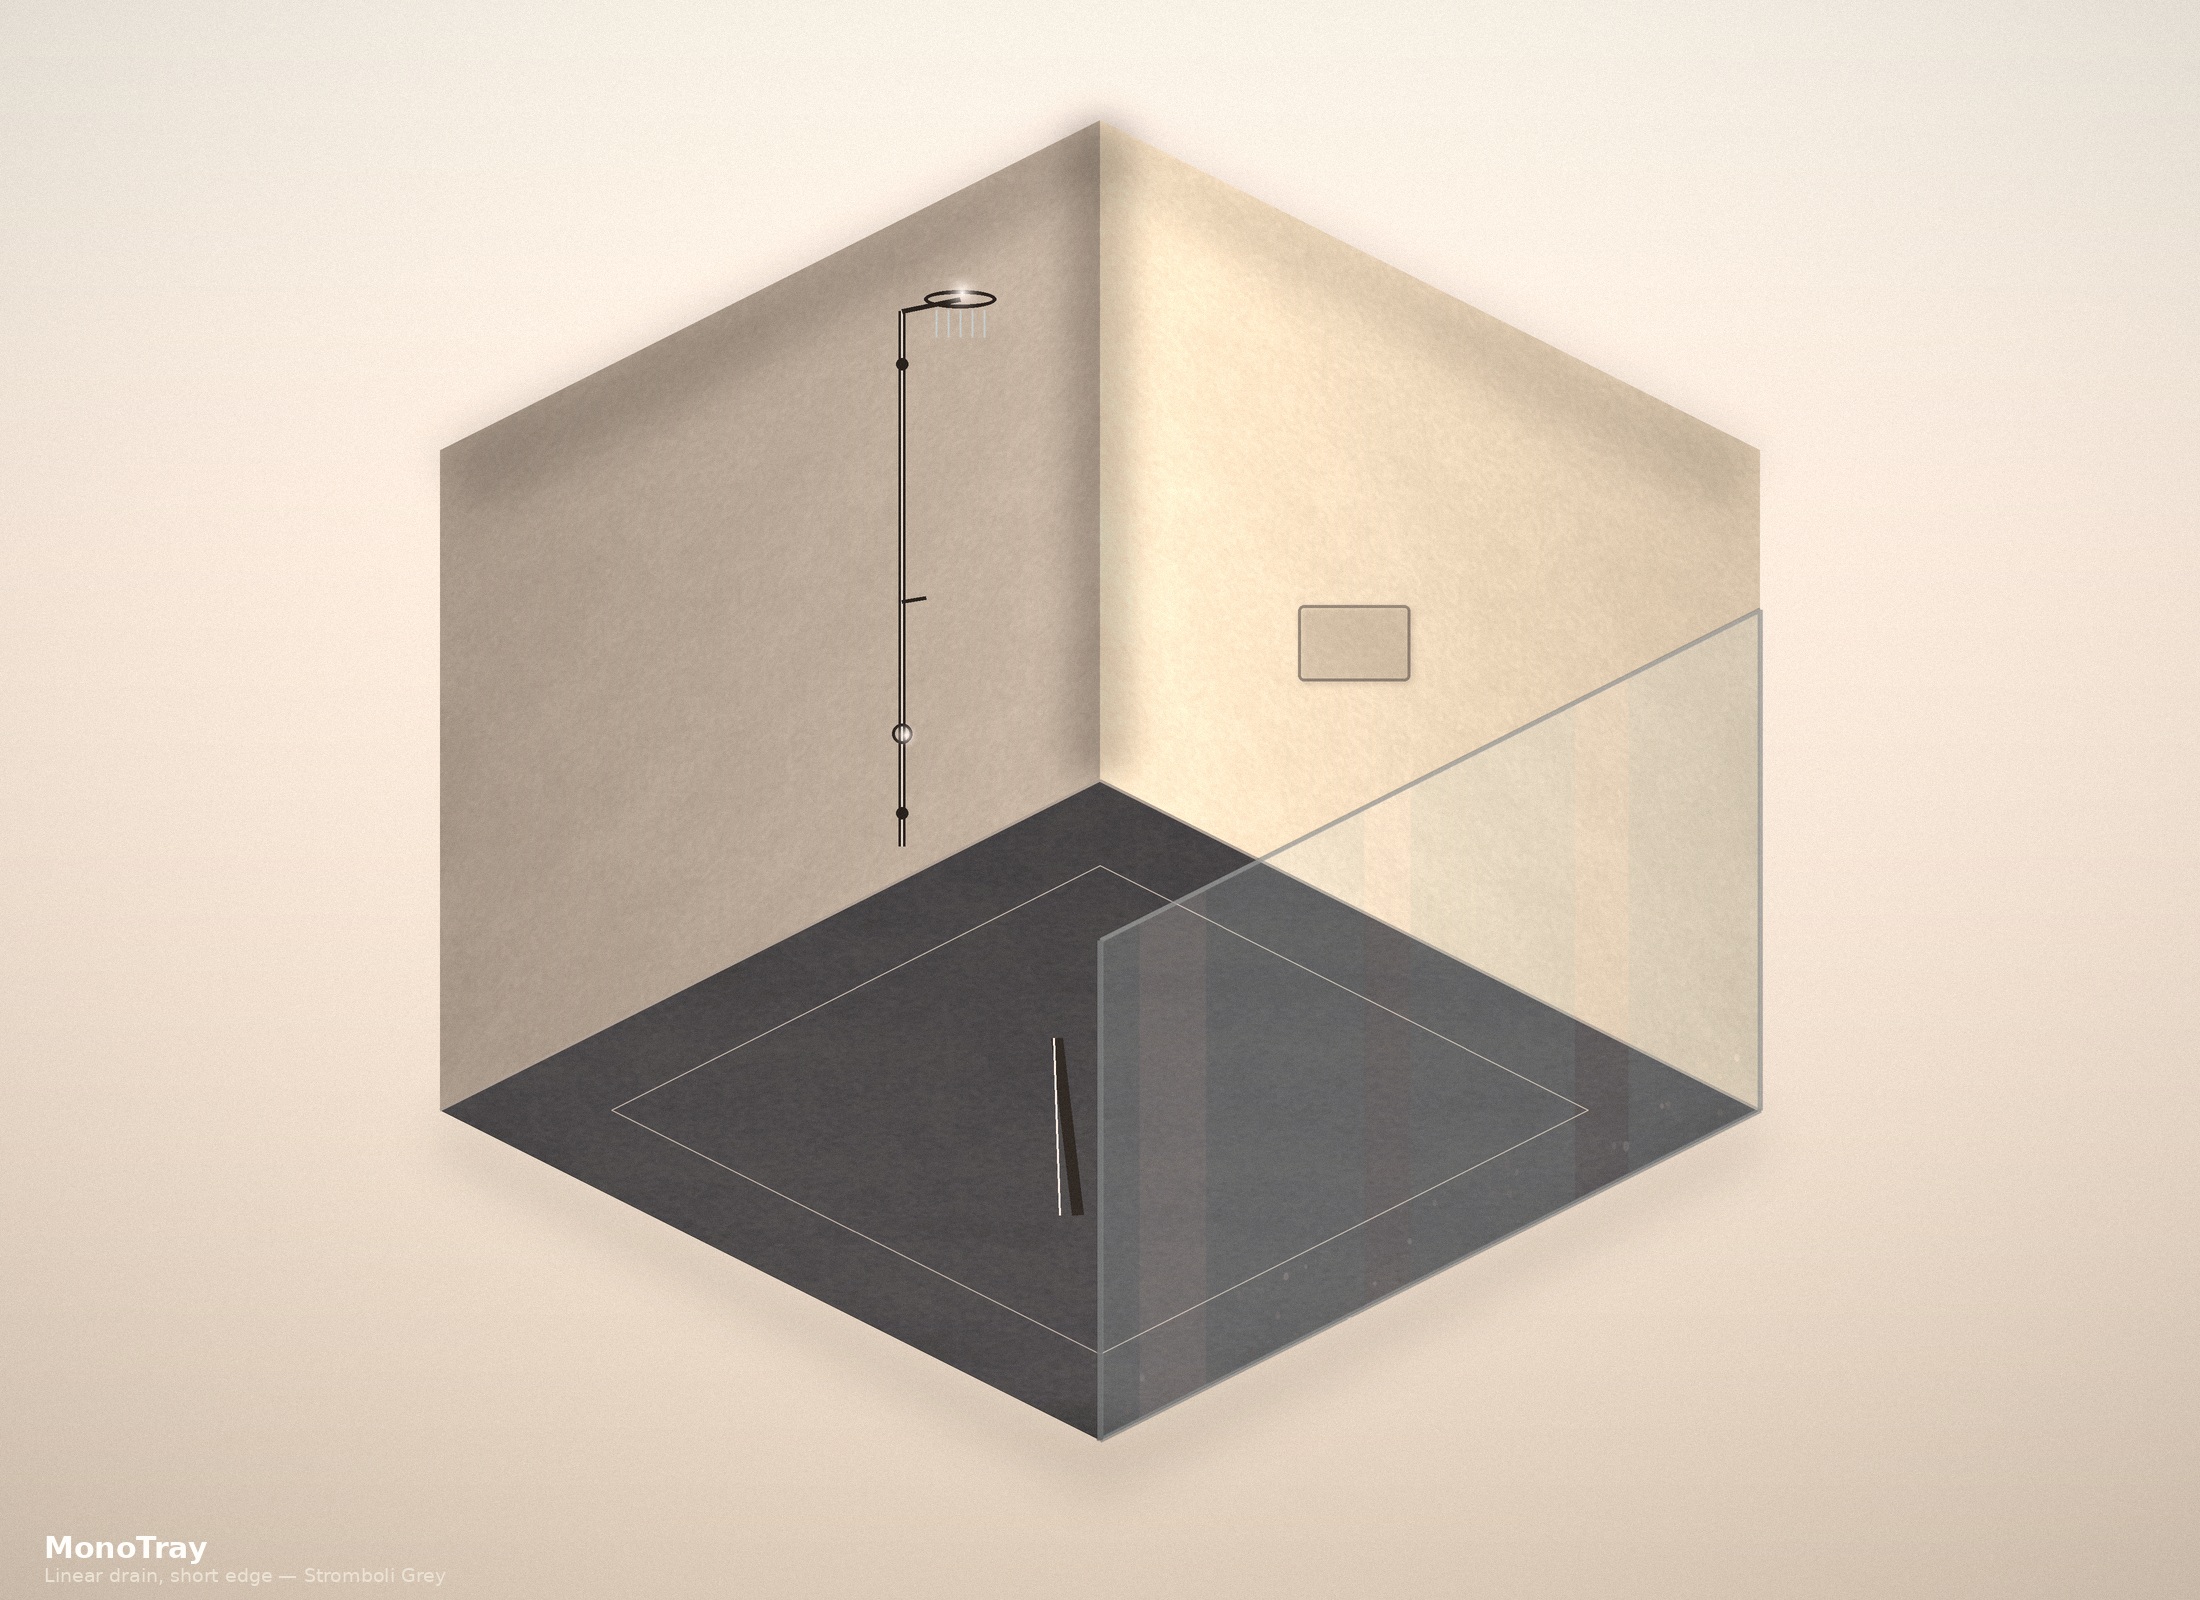
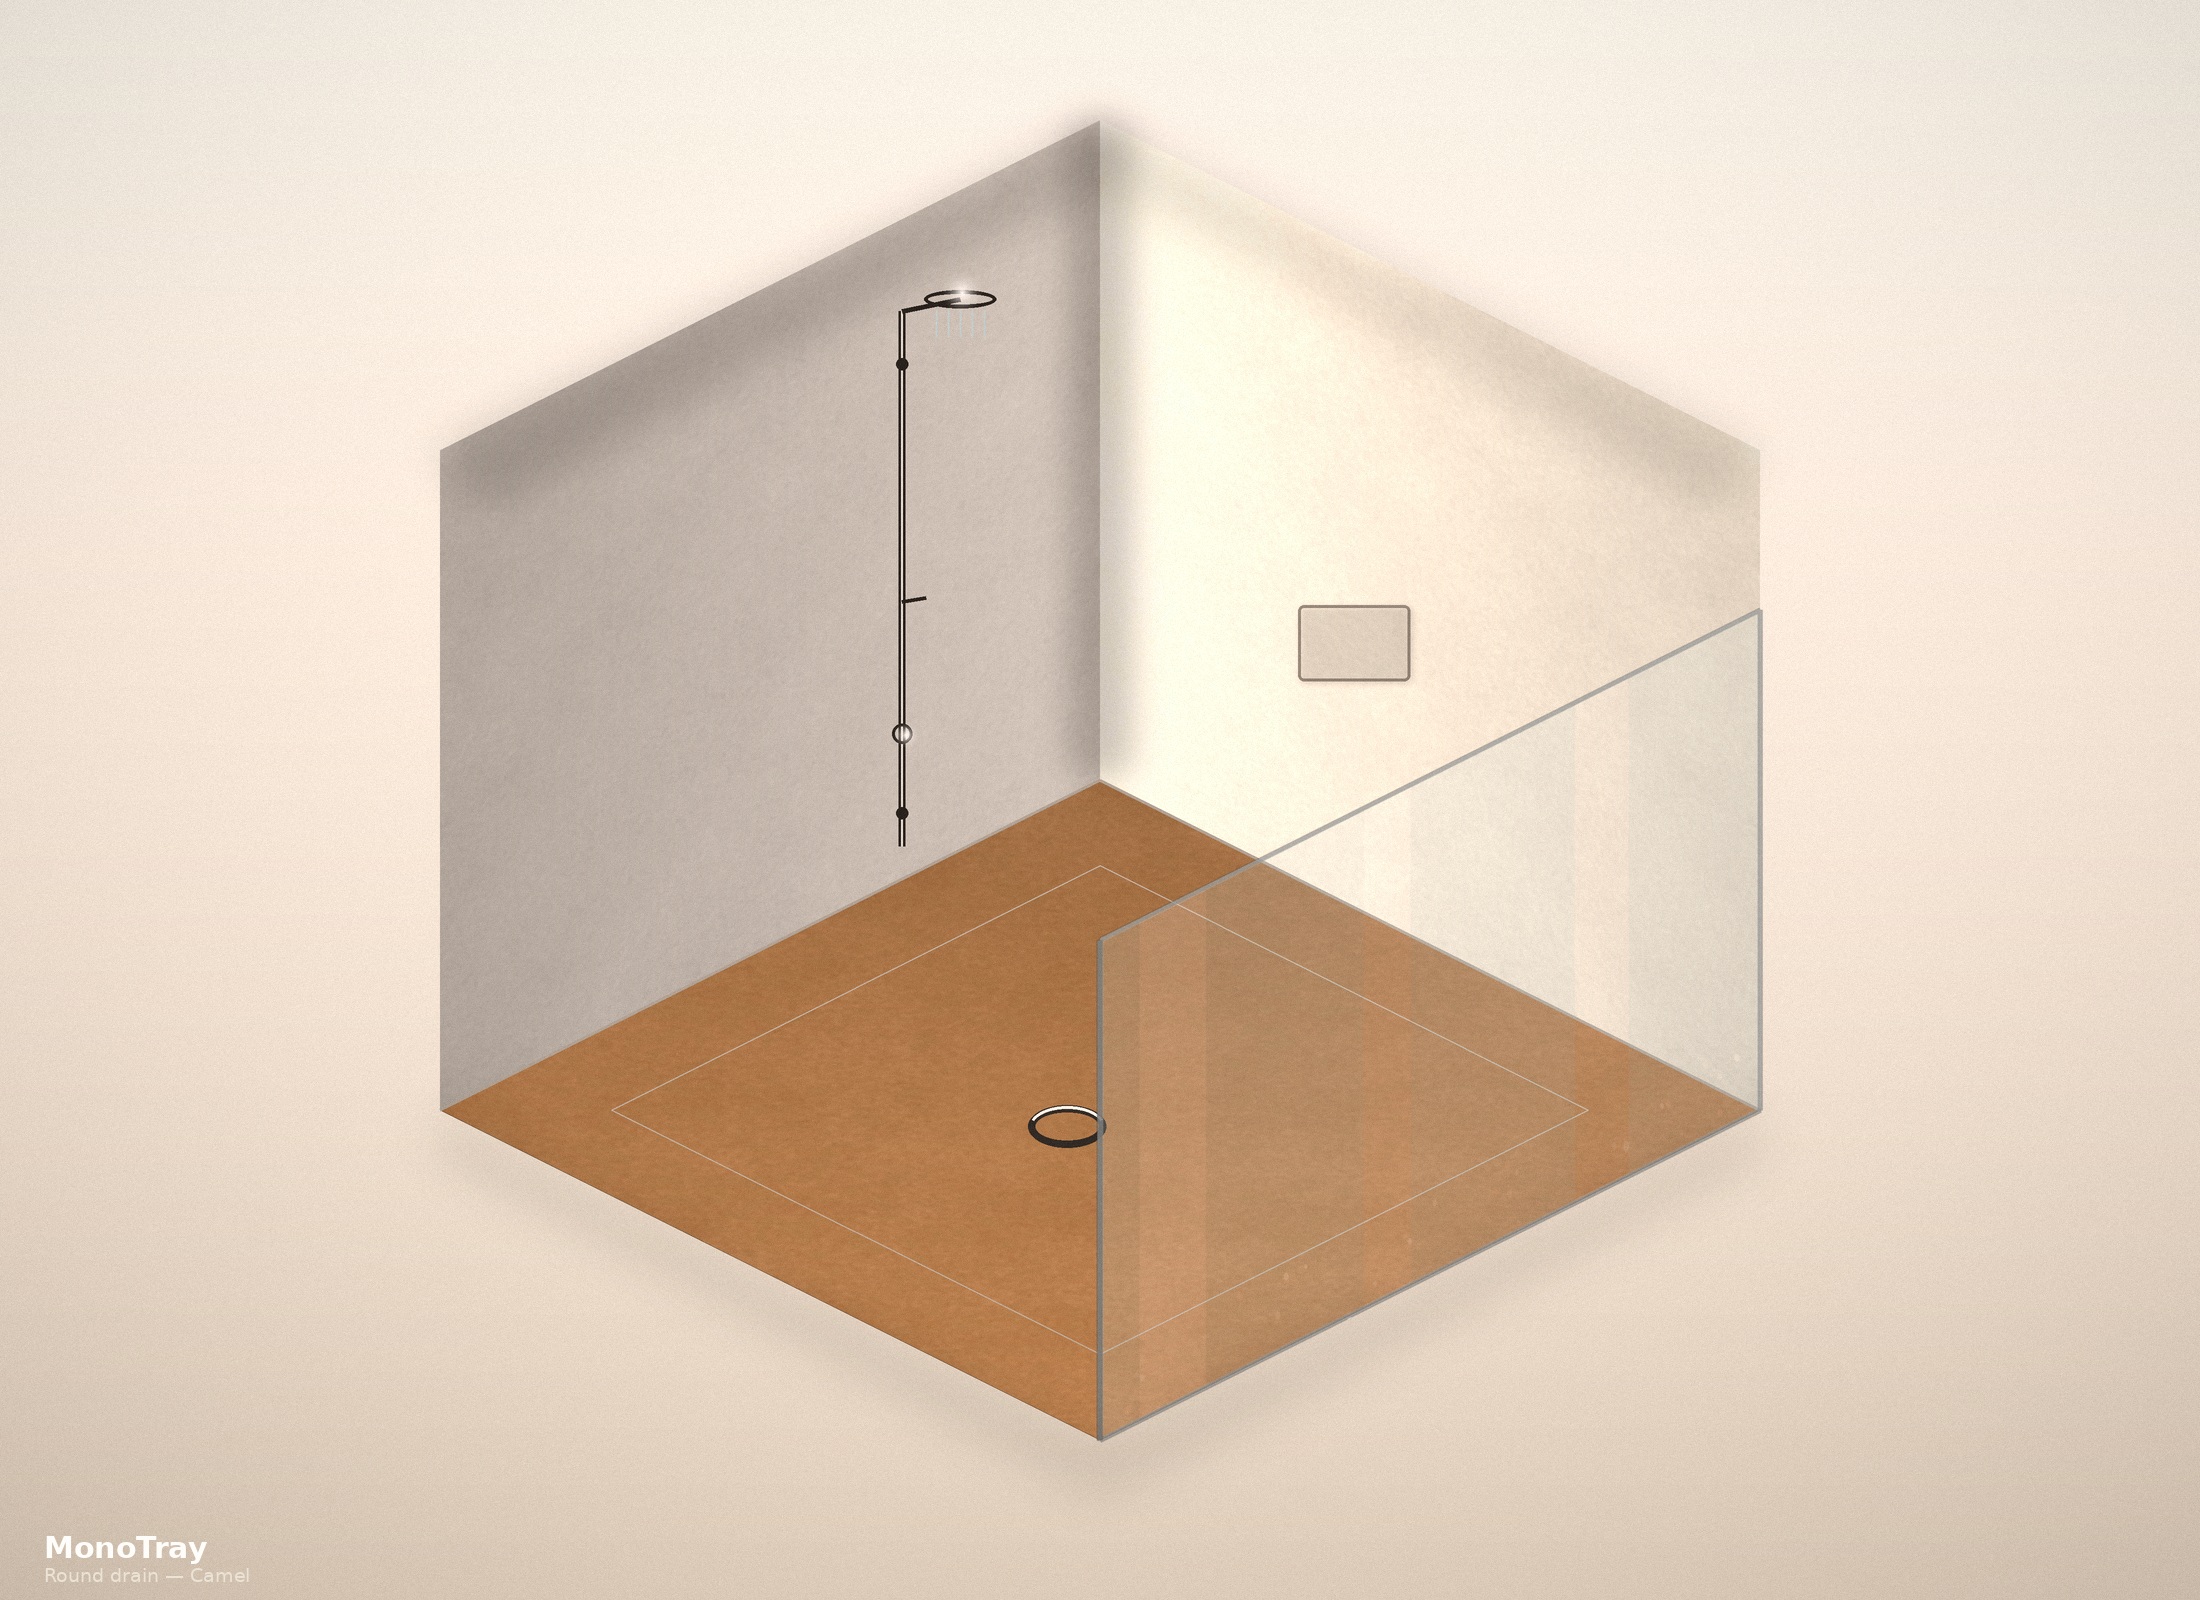
Illustrative scenes for each drain layout, shown in the finish colour most often paired with it — useful for picturing the tray as part of the finished room, not just as a product on its own.

Not sure your bathroom fits a standard size?
Send us the rough opening and we'll tell you what's possible — standard, bespoke, or somewhere in between.